
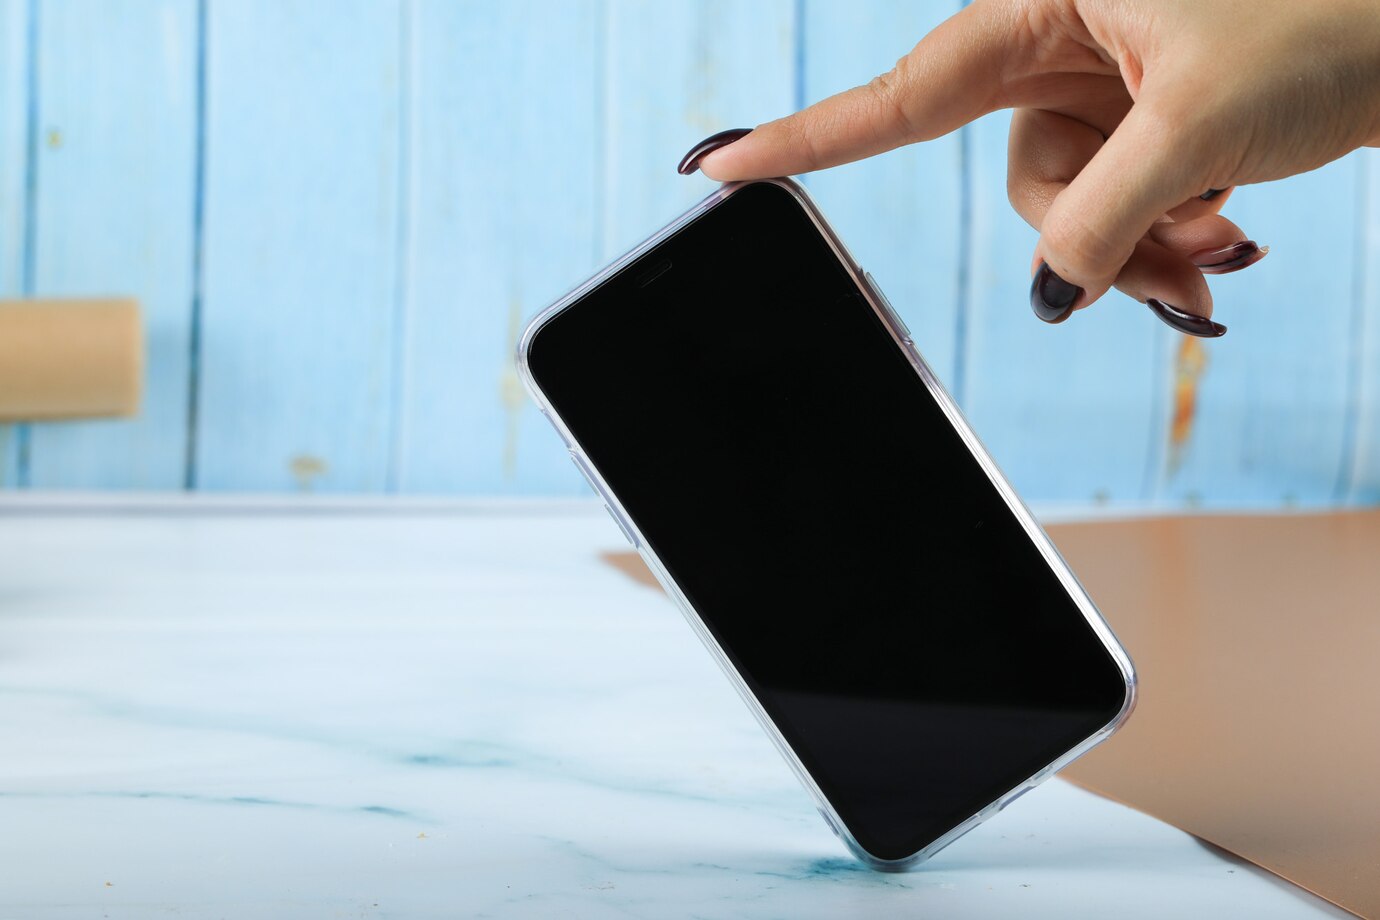
Remember the day I got my new phone? It had that sleek, gorgeous curved display. I was so excited! Naturally, the first thing I did was buy a screen protector. I carefully aligned it, pressed it down… and then the horror. Little pockets of air, those dreaded bubbles, stubbornly refused to disappear along the edges. I pressed harder, used a credit card, even tried lifting and reapplying – nothing seemed to work perfectly. Let me share tips to fix screen protector bubbles on curved phones, so you don’t have to go through the same frustrating experience.
Frustration bubbled up inside me, almost as much as the air trapped beneath the film. It felt like a tiny imperfection ruining the whole experience. I searched online, watched countless videos, but many solutions felt either too complicated or didn’t quite address the unique challenge of a curved screen. That’s when my quest began – a journey to find truly effective and unique ways to achieve that flawless, bubble-free screen protector application on curved phones. Through trial and error, and a bit of research, I finally discovered some truly helpful techniques.
Understanding the Curved Challenge
Curved phone screens are undeniably beautiful and offer an immersive viewing experience. However, their very design presents a significant hurdle when it comes to applying screen protectors. Unlike flat screens, the gentle curves along the edges make it difficult for the adhesive on the protector to make consistent contact with the entire surface. This often results in those persistent air bubbles, particularly along the curved edges where the protector struggles to conform perfectly.
Traditional flat screen protectors often fail miserably on curved displays, either not adhering properly at the edges or leaving unsightly gaps. Even protectors specifically designed for curved screens can trap air if not applied with precision and the right techniques. According to a consumer report by TechAdvisor, a significant percentage of users with curved smartphones report issues with screen protector application, with bubbles being the most common complaint. This highlights the need for specialized methods to tackle this specific problem.
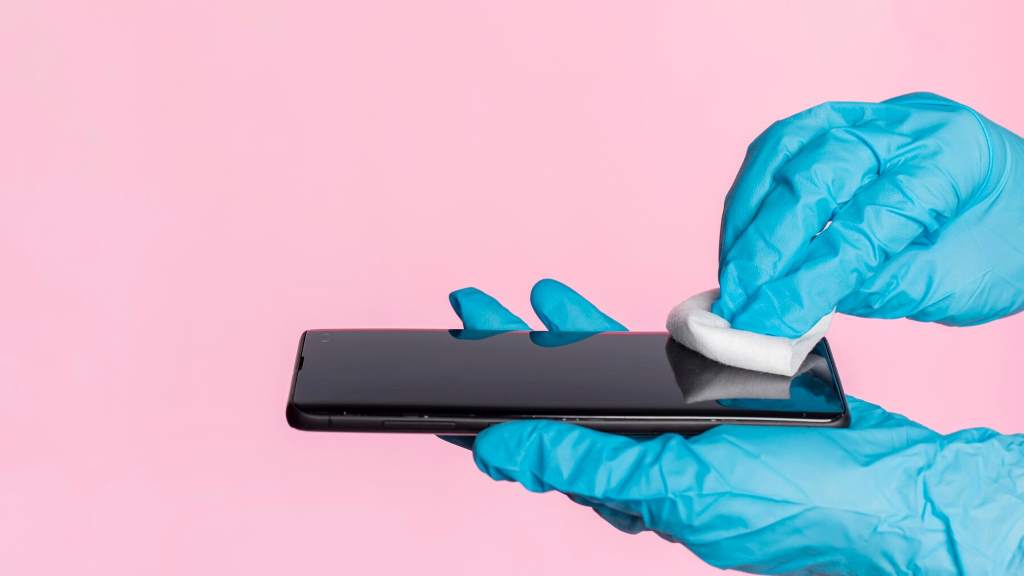
Method 1: The Gentle Lift and Reapply Technique
Sometimes, those stubborn bubbles are simply trapped air that can be coaxed out with a gentle touch. If you’ve just applied the protector and notice bubbles, don’t panic! Carefully lift the edge of the screen protector closest to the bubble, just enough to release the trapped air. Use a soft microfiber cloth to gently smooth the protector back down as you go. Apply even pressure, working from the center of the bubble outwards. This method works best for newly formed bubbles and requires patience. Avoid lifting the protector entirely, as this can introduce dust particles and worsen the problem. Think of it like carefully peeling back a sticker to smooth out a wrinkle. Explore Samsung Black Screen of Death Data Recovery.
Method 2: The Credit Card (or Gift Card) Smoothing Method
This is a classic for a reason, but with a curved screen, the technique needs a slight adjustment. Wrap a clean, soft microfiber cloth around a credit card or a similar thin, rigid card. Apply gentle, even pressure as you push the bubble towards the nearest edge of the screen. The cloth prevents scratches. For curved edges, work in small, sweeping motions, following the curve of the display. Be patient and avoid applying excessive force, which could damage your screen. This method helps to gently push the trapped air outwards.
Method 3: The Hair Dryer (Warm Air) Trick
This method leverages the power of gentle heat to make the screen protector more pliable and help the adhesive bond better, especially along the curves. Set your hair dryer to the lowest heat setting and hold it a few inches away from the screen. Gently warm the area around the bubbles for a few seconds. Immediately after, use a soft cloth or a credit card wrapped in a cloth to smooth out the bubbles towards the edges. The warmth softens the protector, allowing it to conform more easily to the curved surface. Be cautious not to overheat the phone or the screen protector. According to some tech repair blogs, moderate heat can temporarily increase the flexibility of some adhesive materials.
Method 4: The Oil Application (Use with Caution)
This is a more unconventional method and should be approached with extreme caution. A tiny drop of vegetable oil or baby oil can sometimes fill the air gap causing the bubble to disappear. Apply a very small amount of oil to the edge of the bubble. The oil can seep into the gap and displace the air. Immediately wipe away any excess oil with a clean, lint-free cloth. Be extremely careful to prevent oil from entering any ports or openings on your phone. This method is a last resort and carries a small risk if not done correctly.
Method 5: The Patience and Time Approach
Sometimes, small bubbles disappear on their own over time. This is especially true for newly applied screen protectors. The adhesive can slowly settle and the air can naturally dissipate. Leave your phone undisturbed for a day or two and see if the bubbles shrink or disappear. While not a proactive solution, it’s a no-risk approach for minor air pockets.
Method 6: The Cut and Re-Seal Technique
For persistent bubbles, especially along the curved edges, you might consider a very careful incision. Using a sharp craft knife or a thin needle, make a tiny prick in the center of the bubble. Then, gently press down around the puncture to release the air. Immediately smooth the area with a soft cloth. This method carries a risk of damaging the screen protector further if not done with extreme care.
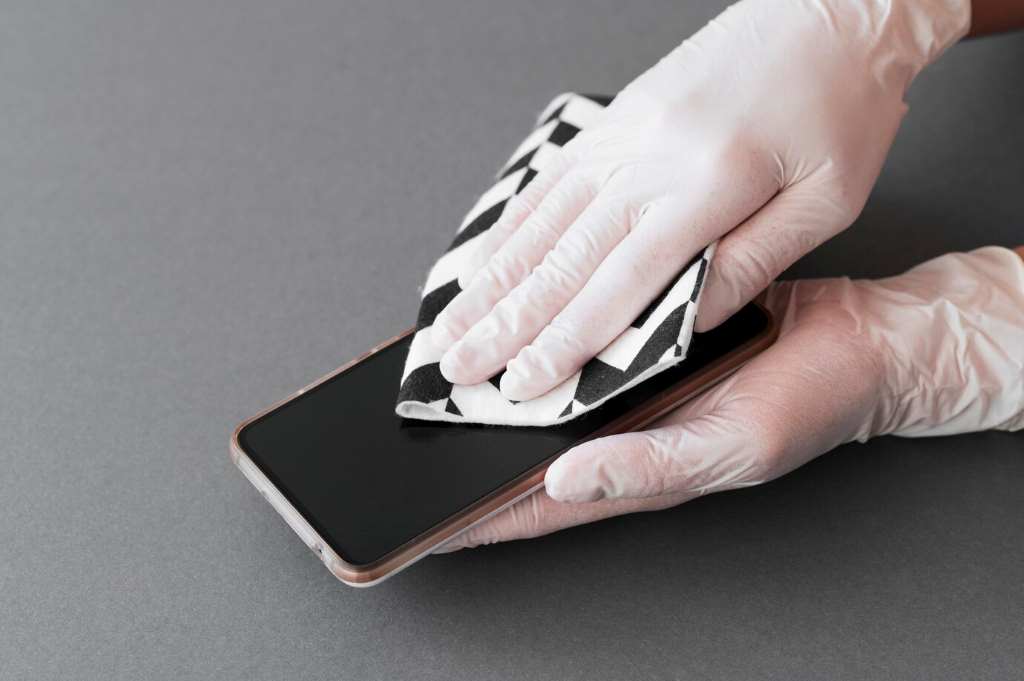
Method 7: The Specialized Application Tools
Several specialized application tools are available specifically for curved screen protectors. These often include flexible squeegees designed to conform to the curves and alignment frames for precise placement. Investing in such a kit can significantly improve your chances of a bubble-free application. These tools are designed to apply even pressure along the contours of the screen.
Method 8: The Professional Installation
If all else fails, or if you’re uncomfortable attempting these methods yourself, consider professional installation. Many phone repair shops or mobile accessory stores offer screen protector application services. While it costs money, it guarantees a flawless, bubble-free result and saves you the frustration.
Conclusion
Dealing with bubbles on a curved phone screen protector can be frustrating, but it doesn’t have to be a permanent annoyance. By understanding the unique challenges of curved displays and employing these eight unique methods, you can significantly improve your chances of achieving a flawless, bubble-free finish. Whether you opt for the gentle lift, the warm air trick, or even consider professional help, the goal is the same: a smooth, clear screen that enhances your mobile experience. Don’t let those pesky bubbles cloud your view!
FAQs
What causes bubbles on curved screen protectors?
The primary reason is the difficulty of the flat adhesive on the protector making consistent contact with the curved edges of the phone screen, trapping air.
Can I prevent bubbles when applying a curved screen protector?
Yes, by applying it slowly and carefully, using the hinge method for alignment, and applying even pressure. Specialized application tools can also help.
Will bubbles go away on their own?
Small, newly formed bubbles sometimes disappear over a few days as the adhesive settles. Larger or persistent bubbles usually require manual intervention.
Is it safe to use heat on my phone screen?
Using low heat from a hair dryer briefly and from a distance is generally safe, but avoid excessive heat, which can damage your phone.
When should I consider professional screen protector installation?
If you’re uncomfortable applying it yourself, have had repeated issues with bubbles, or want a guaranteed flawless application, professional installation is a good option.